#Intended Audience
This tutorial is for:
- Frontend developers integrating Sportradar widgets
- UX engineers improving perceived performance during widget loading
- Developers familiar with basic widget integration
- Those wanting to enhance user experience with loading states
#Goals
By completing this tutorial, you will:
- Understand the widget loading lifecycle and timing
- Implement a custom loading indicator for widgets
- Use the
onTrackcallback to detect when widgets are ready - Handle the transition from loading state to loaded widget
- Troubleshoot common loading indicator issues
- Improve perceived performance with visual feedback
#Prerequisites
Before starting this tutorial, ensure you have:
- Valid Sportradar Widget license - Contact Sales if needed
- Basic HTML/CSS/JavaScript knowledge - DOM manipulation, CSS animations, event handling
- Completed Getting Started Guide - Understanding of basic widget integration
- Web development environment - Text editor and modern browser
This tutorial uses the onTrack callback, which is a core widget feature available for all widget types.
#Overview
#Understanding Widget Loading Phases
Widget loading happens in multiple asynchronous phases:
- Script download - Widgetloader framework is fetched
- Widget registration -
SIRfunction becomes available - Widget initialization - Widget code replaces target element content
- Data fetching - Widget requests match/tournament data
- Rendering - Widget displays components or error
The time between widget initialization and data rendering can vary from milliseconds to several seconds depending on network conditions. A loading indicator improves user experience during this wait.
#The Challenge
Users see a blank space while widgets load, which can:
- Create confusion about whether the page is working
- Make the page feel slow or broken
- Reduce user confidence in your integration
A loading indicator provides visual feedback that content is on the way.
#Tutorial Steps
#Step 1: Understand the Basic Widget Integration
Start with a standard widget integration. The widgetloader script downloads asynchronously, then the SIR function loads the widget.
<script>
    (function(a,b,c,d,e,f,g,h,i){a[e]||(i=a[e]=function(){(a[e].q=a[e].q||[]).push
#What Happens During Loading
#Step 2: Create the Loading Indicator
Add a separate element for your loading indicator. Keep it outside the widget's target element.
#HTML Structure
<div class="widgets">
    <!-- Widget target element - will be populated by widget code -->
    <div id="sr-widget-1" class="box"></div>

    <!-- Separate element for loading indicator -->
    <div id="your-content" class="box">
        <div class="loader"></div>
    </div>
</div>Critical: Never add the loading indicator inside the widget's target element (#sr-widget-1). The widget will replace all content in that element when it initializes.
#CSS Styling
Add styles to size the elements and animate the loader.
View Complete CSS
body {
    display: flex;
    justify-content: center;
}

.widgets {
    max-width: 360px;
    width: 100%;
}

/* Set same size for widget and loader containers */
.box {
    border
#Visual Result
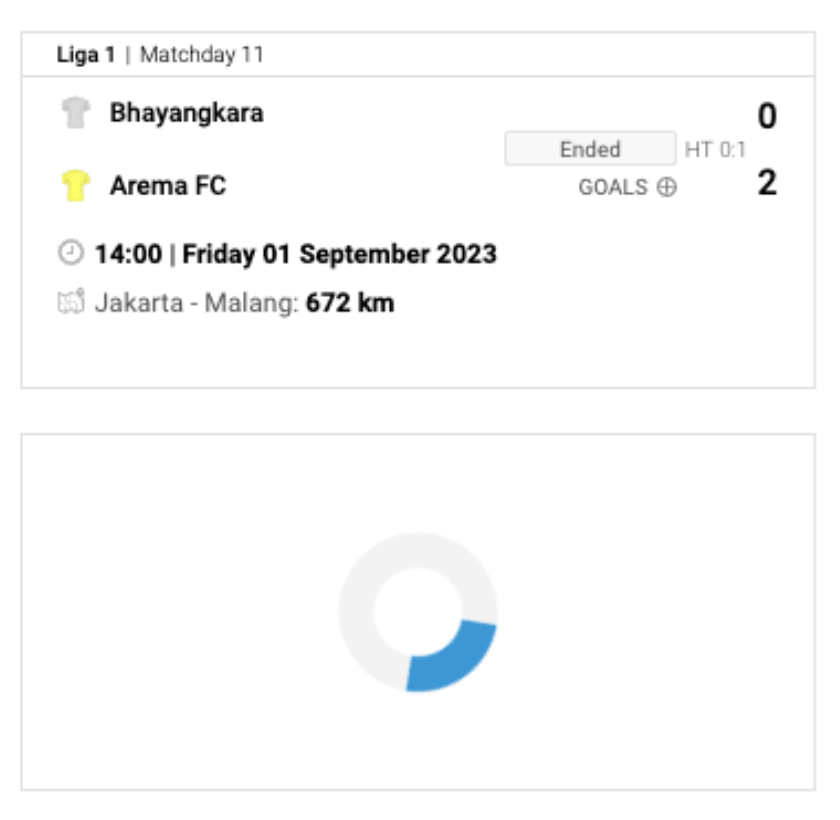
#Step 3: Implement the Loading State Logic
Use the onTrack callback to detect when the widget has loaded data, then swap visibility between the loader and widget.
#Add the onTrack Callback Function
let widgetHasInitialized = false;

function onTrack(target, data) {
    // Listen for 'data_change' event - fired when widget receives data
    if (target === "data_change" && !data.error && !widgetHasInitialized) {
        // Show the widget
        document.getElementById('sr-widget-1').style.
The data_change Event: This event fires when the widget successfully receives data. If data.error is undefined, the widget will render successfully.
#Pass onTrack to Widget Configuration
SIR("addWidget", "#sr-widget-1", "match.scoreboard", {
    matchId: 41960917,
    onTrack: onTrack
});#Hide Widget Initially With CSS
Add CSS to hide the widget element until data loads.
/* Hide widget until data loads */
#sr-widget-1 {
    display: none;
}#Complete Integration
View Complete Working Example
<!DOCTYPE html>
<html>
#Troubleshooting
#Issue: Loading Indicator Disappears Too Early
Symptom: The loading indicator vanishes before the widget displays, leaving a blank space.
Cause: The loading indicator was placed inside the widget's target element.
Incorrect Implementation:
<!-- ❌ DON'T DO THIS -->
<div id="sr-widget-1" class="box">
    <!-- This will be removed when widget initializes! -->
    <div id="your-content" class="box">
        <div class="loader"></div>
    </div>
</div>
Correct Implementation:
<!-- ✅ DO THIS -->
<div class="widgets">
    <!-- Widget target - empty, will be filled by widget -->
    <div id="sr-widget-1" class="box"></div>

    <!-- Loader in separate element -->
    <div id="your-content" class="box">
        <div class="loader"></div>
    </div>
</#Issue: Widget Shows Before Data Loads
Cause: Forgot to hide the widget element initially with CSS.
Solution: Add CSS to hide the widget until data_change fires:
#sr-widget-1 {
    display: none;
}#Issue: Both Loader and Widget Visible
Cause: The onTrack callback isn't firing or has incorrect logic.
Solution: Verify:
onTrackis passed to widget configuration- Element IDs match exactly
- You're checking for
target === "data_change" - Browser console shows no JavaScript errors
#Advanced: Handling Errors
You can extend the onTrack callback to handle loading errors:
function onTrack(target, data) {
    if (target === "data_change" && !widgetHasInitialized) {
        widgetHasInitialized = true;

        if (data.error) {
            // Handle error state
            document.getElementById('your-content').innerHTML =
#Key Takeaways
Separate Elements
Always keep the loading indicator in a separate element from the widget's target. The widget replaces its target element's content.
Use onTrack Callback
The onTrack callback with data_change event is the reliable way to detect when a widget has loaded and is ready to display.
Hide Widget Initially
Start with the widget hidden (display: none) and only show it after the data_change event confirms successful loading.
#Further Reading
#Core Documentation
- Getting Started Guide - Basic widget integration
- Widget Events (onTrack) - Complete event reference
- Widget Configuration - All configuration options
#Related Tutorials
- Widget Visibility in Carousels - Managing visibility in dynamic layouts
- Error Handling - Comprehensive error handling guide
#Performance Resources
- Web.dev: Perceived Performance - Why loading indicators matter
- MDN: CSS Animations - Creating custom loaders
- MDN: display Property - Understanding display values